Table of Contents
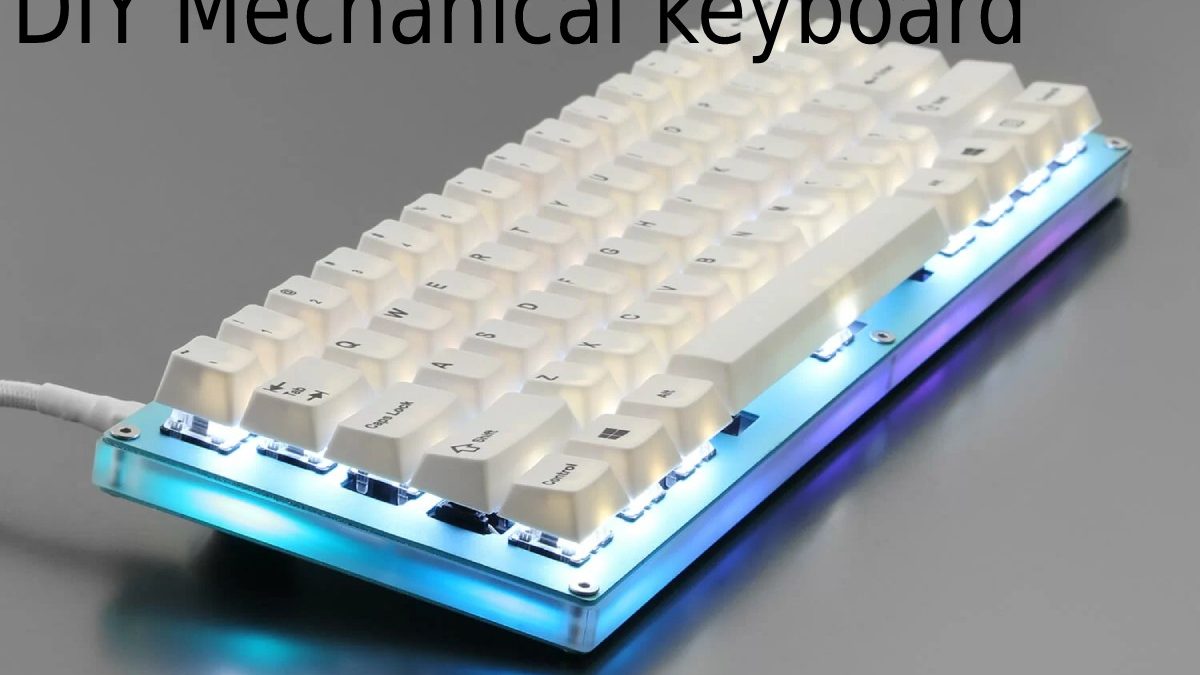
DIY Mechanical Keyboard
However, an interior designer may prefer a colorful aesthetic. So here we will DIY Mechanical keyboard.
However, everyone needs something different from their keyboard. For example, a typist might want a clear analog typewriter-like experience.
How to build a mechanical keyboard?
The main scope is not building a keyboard, but I will touch on some essential assembly instructions. In general, construction should occur in the following order:
- Inspection and disposition
- Preparing the PCB
- Prepare the dish
- Prepare the stabilizers.
- Insert switches
- Insert and bend the LEDs.
- Start welding
- Clean up
- Inspection and testing
1. Inspection and design of your PCB
- The first essential step is to inspect the motherboard, switches, and LED lights (if you have LED lights) for signs of damage.
- Then mentally, imagine going through the following five steps. Preparing a mental picture of what the next steps require will reduce errors and desoldering (a tedious hobby).
2. Prepare the PCB
- In this step, you want to examine the PCB for signs of shorts or other strange marks if you see debris or other characters on the motherboard.
- However, you can clean it with a cotton swab and highly resistant alcohol designed for electronic devices. I know people who use medicinal drinking, but that brings the possibility of creating a short.
3. Plate (optional)
- The board needs to be placed directly on the PCB to accommodate the switches if you have them aboard. As an effect, there will be a gap between the board and the PCB.
- The switches anchor the PCB in place. In general, the boards make mounting a keyboard much more straightforward than soldering the LEDs and switches directly to the motherboard.
4. Stabilizers
- The stabilizers should be inserted into position at this point. There are two stabilizers, style cherry and Costa Rican.
- As noted directly above, the primary difference between the two is that Costar stabilizers are easier to install but cause some noise when typing.
- On the other hand, Cherry produces less noise but requires a somewhat tricky installation process on some boards.
- You will notice that the Costar stabilizers come with plastic drill bits that plug into the keys. These bits hook onto the stabilizer bar.
- The outrigger cable then snaps into the outriggers attached to the board.
5. switches
- It is where things get a bit more complex. To reduce the flex of the circuit board during installation, it helps to first install a switch at each corner of the board.
- You must fully depress the switch on the board for the switch pins to appear on the other side of the board. If the pins are not fully extended, you will have trouble getting electrical conductivity.
- If the switch pins are bent before insertion, they will not extend to the rear of the PCB. Therefore, you need to make sure the pins are straight before inserting the switch into the PCB.
- As you place more switches, distribute them evenly around the keyboard. By doing so, you reduce the force exerted on the circuit board.
- If you choose to anchor the switches directly to the PCB, this step is less complicated as the buttons press down on the board with little effort.
6. Insert and fold the LEDs.
- Single color LED lights to include two pins. The most extended pin is positive, and the shortest is negative.
- On most PCBs, you will notice that the LEDs’ holes are marked with positive or negative symbols. Therefore, when inserting the LED into the pits, make sure the longer leg of the LED is inserted into the marked positive hole.
- The tricky part here is that the LED holes for the bottom row keys (like the space bar, Alt, and Ctrl) are reversed, meaning the terminals are opposite.
- I complete the mistake of soldering the bottom row LEDs in place incorrectly and had to desolder them.
- After inserting each LED, make sure it is fully inserted and bend the legs. Turning the legs will prevent the LED from sliding back into the board.
- Even a slight slip can cause the LED to stick out enough to prevent a key from being fully depressed.
- Now flip the board. Time to weld.
7. Start welding
- A good way to weld is to move around the same way you read a book. Jump at the pins on the upper left side and move from left to right.
- If you take breaks, be sure to use a cotton swab and rubbing alcohol to remove the organic residue left by Rosen’s flow. If left to dry overnight, the Rosen hardens and requires a scraper to remove.
- Turning off welding can be dangerous. Instead, I recommend using minimum steel wool designed to remove the weld.
8. clean
- Because Rosen Core solder is potentially conductive once caramelized, cleaning is required.
- Remember that Rosen will harden if left in the air for too long, so you must clean it immediately after finishing welding. Then, you will take to scrape it off.
9. Inspection
- Finally, you will have to inspect each weld point for signs of weakness. A good solder joint will last the life of the product.
- However, a lousy joint can eventually crack and split. A “cold weld” cannot conduct electricity properly.